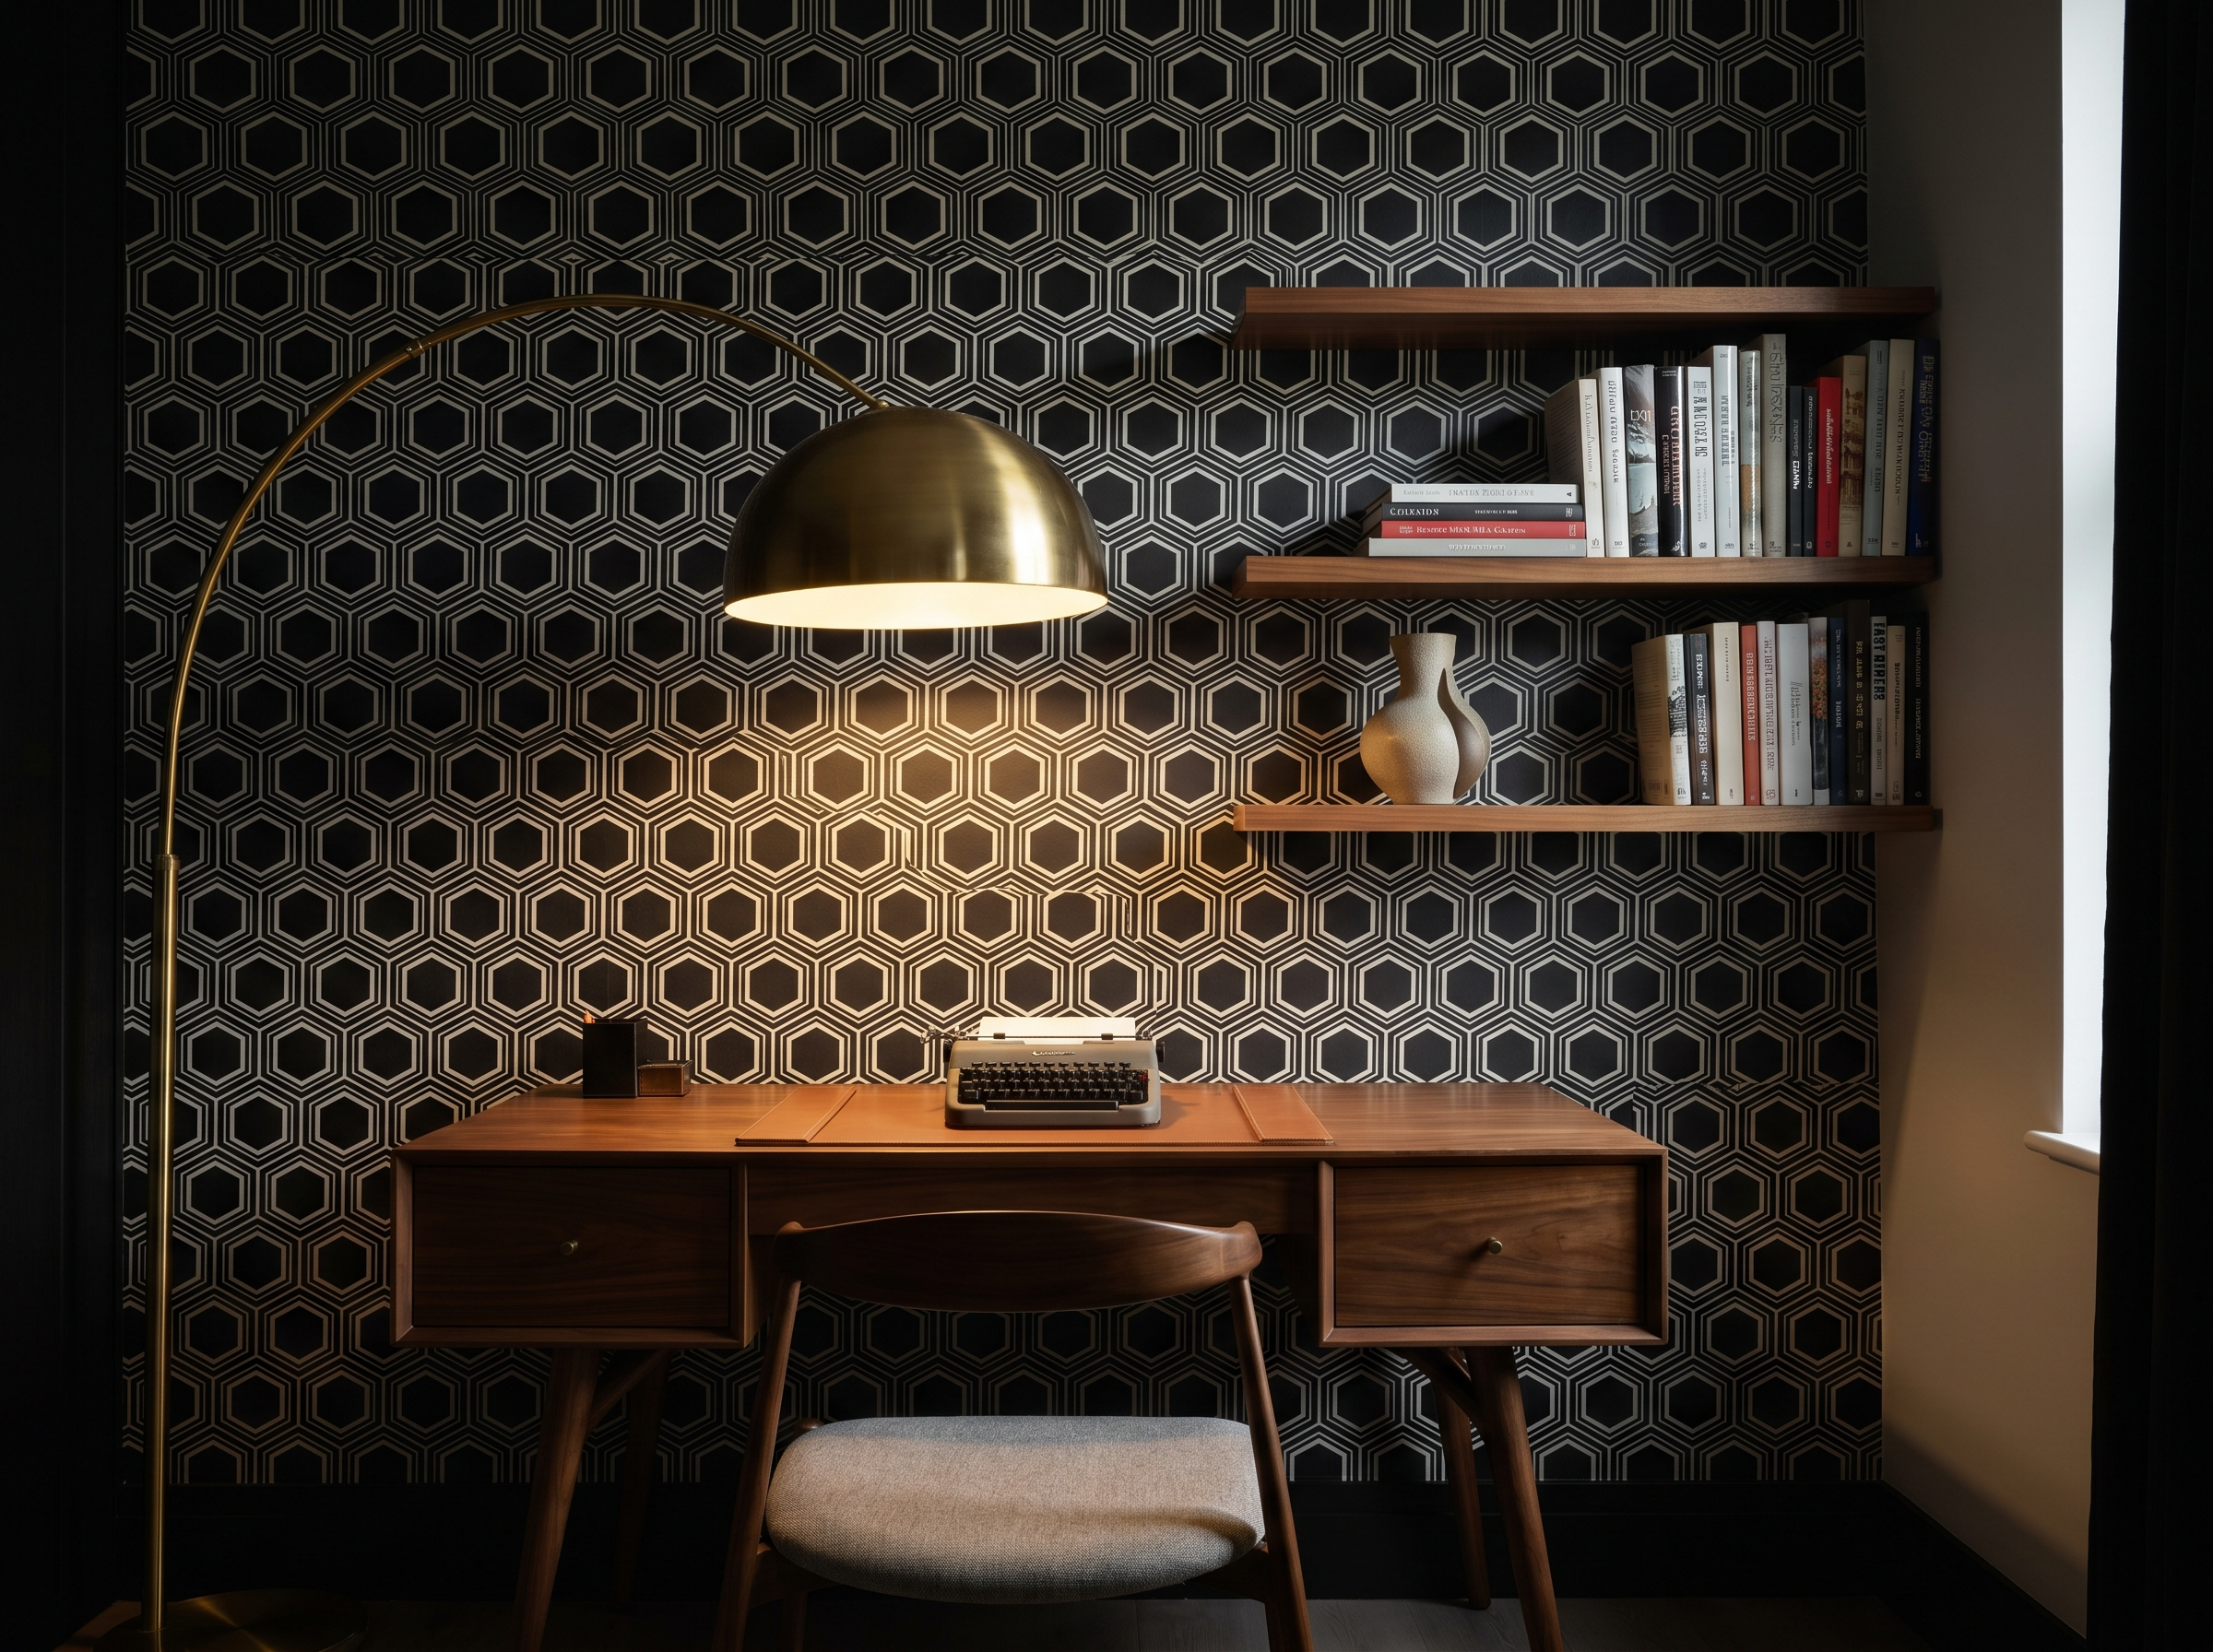
How to Wallpaper a Room: A Complete Beginner's Guide
Hanging wallpaper yourself is entirely achievable with the right preparation and a methodical approach. This step-by-step guide covers everything from wall prep to trimming the final drop — no professional experience required.
Wallpapering has a reputation for being difficult. In practice, it is methodical — a series of straightforward steps that compound into a professional result if executed in order and without rushing. The people who struggle are almost always those who skip the preparation. The people who do the preparation properly find the hanging itself unremarkable.
This guide covers the full process: what you need, how to prep the walls, how to hang the first drop correctly, and how to handle the common obstacles — corners, light switches, windows — that intimidate first-timers. Work through it once before you start. The sequence matters.
What you'll need
Tools
- Pasting table (2.4m fold-flat type — do not skip this)
- Plumb bob and line, or a long spirit level
- Pencil
- Wallpaper brush or smoothing tool (plastic smoother for paste-the-wall; bristle brush for traditional paste)
- Seam roller
- Large scissors and a sharp craft knife with fresh blades
- Bucket and large pasting brush (for traditional paste papers)
- Sponge and clean water bucket (for wiping paste off surfaces)
- Stepladder
- Steel straight-edge for trimming
- Tape measure
- Pencil and notepad for calculations
Materials
- Wallpaper — correct quantity calculated before purchase (see below)
- Paste appropriate to your paper type — check the manufacturer's recommendation
- Size/primer or diluted PVA (1 part PVA to 4 parts water) for sealing bare plaster
- Lining paper (recommended for walls in poor condition or if hanging a heavy paper)
- Filler and sandpaper for wall preparation
How many rolls do you need?
Use our free rolls calculator to get the exact quantity for your room before you order — including pattern repeat waste.
Step 1: Prepare the walls
Wall preparation is the single most important step. A freshly-hung paper on a poorly-prepared wall will lift, bubble, and peel within weeks. A well-prepared wall gives the adhesive a stable, consistent substrate that holds for years. Do not abbreviate this.
Remove existing wallpaper
Existing wallpaper must come off. Do not hang over it — the added moisture from new paste will re-activate old adhesive and cause both layers to lift. Score the surface lightly with a scoring tool, soak thoroughly with warm water (add a tablespoon of fabric softener to help penetration), and strip in sheets. Hire a steam stripper for a room that is heavily layered or has multiple decades of paper.
Once stripped, wash the walls with warm water to remove all paste residue. Any residue left behind will interfere with new adhesive bonding.
Fill, sand, and prime
Fill any holes, cracks, or chips with a lightweight ready-mixed filler. Allow it to dry completely — typically 2–4 hours for small repairs, overnight for deeper fills. Sand smooth with 120-grit paper, then wipe with a damp sponge to remove dust. The wall should feel uniformly smooth to the back of the hand when finished.
Apply a coat of size (diluted paste mixed to half-strength) or diluted PVA to all walls you plan to paper. This seals porous surfaces, prevents the wall from absorbing moisture too quickly from the paste, and gives the paper a more workable open time — you will have longer to adjust the drop before it grips. Allow to dry fully before hanging.
Pro tip: On bare plaster, always size before papering. Fresh plaster is highly porous and will suck moisture out of the paste before the paper has time to stick, causing dry joints that lift at the seams within days.
Hang lining paper (optional but recommended)
Lining paper covers minor surface imperfections and gives a consistent, slightly absorbent substrate that improves both adhesion and finish quality. It is worth using on any wall that is not newly plastered and smooth. Hang lining paper horizontally (cross-lining) at 90 degrees to your wallpaper drops — this prevents seams from aligning. Allow to dry fully (typically 24 hours) before hanging the top paper.
Step 2: Calculate and cut your drops
Measure the full height of the wall from ceiling to skirting board. Add 50–75mm to this measurement — 25–37mm for trimming at the top and 25–37mm at the bottom. This is your cut length for a plain paper with no pattern repeat.
For a patterned paper, you need to account for the pattern repeat. Add the full pattern repeat length to your cut measurement so each drop can be aligned to the pattern before hanging. Most manufacturers print the repeat length on the label — it might be, for example, 64cm. In that case, add 64cm to your base cut length. You will waste this material as offcuts at the top or bottom of each drop, but alignment takes priority.
Pro tip: Number each cut drop on the back in pencil — top left corner, with an arrow indicating up — before you leave the pasting table. Mixed-up drops are the most common cause of pattern mismatches that cannot be corrected mid-hang.
Step 3: Mark your starting point
Never start from a corner. Corners are rarely perfectly straight, and the first drop sets the reference for every subsequent drop. Start instead from a point one roll-width from the most visually prominent corner in the room — typically the corner nearest the main window, or the chimney breast wall.
Mark a perfectly vertical plumb line at your starting point. Use a plumb bob for accuracy, or a long spirit level. This line is more important than any other mark you will make — all subsequent drops are butted against each other, so if the first drop is not truly vertical, the cumulative error across a room will be visible by the time you reach the far wall.
Step 4: Paste (or activate) the paper
Traditional paste papers
Mix paste according to the manufacturer's instructions. Lay the first drop face-down on the pasting table. Apply paste evenly from the centre outward, covering every millimetre including the edges. Fold the pasted section concertina-style (paste-to-paste, not paper-to-paste) to allow it to soak. Most papers need 2–5 minutes of soak time — check the manufacturer's recommendation. Under-soaked paper tears; over-soaked paper stretches.
A paper that has soaked correctly will be slightly limp and flexible — it should drape off the edge of the table without creasing. If it is stiff and resists draping, it needs more time.
Paste-the-wall papers
Apply paste directly to the wall section where your first drop will go, extending slightly beyond the drop width. Do not paste the paper. The paper goes on dry, which means it does not stretch or shrink during hanging — a significant practical advantage, especially for heavier papers and vinyl types. Some paste-the-wall papers also offer a very long open time (30–60 minutes) that makes repositioning easier.
Step 5: Hang the first drop
Unfold the top section of your pasted drop and carry it to the wall. Align the right (or left) edge with your plumb line, leaving the 25–37mm overlap at the ceiling. Press the top section flat with your smoothing brush, working from the centre outward to push out air bubbles. Release the bottom fold and smooth down the rest of the drop, again working from centre to edges.
Check the edge against the plumb line. It should be perfectly aligned top to bottom. If it is drifting, peel the lower section away from the wall and re-align — the paper will not have bonded yet and can be adjusted freely within the first few minutes.
Trim the ceiling overlap with scissors or a craft knife against a straight-edge. Do the same at the skirting. Wipe any paste from the ceiling and skirting immediately with a clean damp sponge.
Step 6: Hang subsequent drops
Butt-join the second drop directly against the first — edges touching, no gap, no overlap. A slight overlap is almost impossible to sand back cleanly; a visible gap will be permanent. The seam should disappear when the paste dries.
If your paper is patterned, align the pattern horizontally before pressing the drop flat against the wall. Stand back and check the alignment at eye level before committing. Once the adhesive grips, the drop cannot be moved.
Run a seam roller down every join approximately 10–15 minutes after hanging, when the paste has partially set. This ensures the edges bond fully and do not lift during drying. Do not seam-roll embossed papers — it will crush the texture.
Working around obstacles
Corners
Do not try to wrap a single drop around an internal corner — corners are almost never perfectly straight and the drop will twist. Instead, measure the distance from the last full drop to the corner, add 12mm, and cut a strip to this width. Hang it into the corner, wrapping the 12mm overlap onto the adjacent wall. On the new wall, strike a fresh plumb line one full roll-width from the corner and start again.
External corners (such as a chimney breast) can be wrapped if the paper is flexible. Ensure the overlap is a minimum of 25mm onto each face for adequate adhesion.
Light switches and sockets
Turn off the electricity at the fuse box before working near switches and sockets. Hang the drop over the fitting as if it were not there. Cut diagonal lines from the centre of the fitting outward to its corners, creating four triangular flaps. Press the paper against the wall around the fitting, then trim the flaps flush. Loosen the faceplate screws slightly, tuck the paper edges behind, and re-tighten. The paper will cover the rawl plug holes neatly.
Windows and doors
Hang drops normally up to the window or door frame. For the drop that partially overlaps the opening, hang the full drop onto the wall, smooth the section above (or beside) the opening, then cut away the section over the void leaving a 25mm overlap onto the reveal. Wrap and trim this overlap into the reveal.
Common mistakes to avoid
- 1.Starting from a corner. Corners are almost never square. The first drop must be set against a plumb line, not a corner edge.
- 2.Under-soaking traditional paste papers. An under-soaked drop tears at the seams and bubbles in the centre. When in doubt, give it another two minutes.
- 3.Skipping the size coat. Unsized walls pull moisture out of the paste too quickly, causing dry joins and bubbling. Always size first.
- 4.Wiping paste off the front of the paper with a dry cloth. This smears it into the surface. Use a clean damp sponge, rinsed frequently.
- 5.Seam-rolling too early. If you roll before the paste has partially set, the edge lifts again when you release pressure. Wait 10–15 minutes.
- 6.Stretching the paper to close a small gap. This leaves a thin strip that will crack when the paste dries. Re-hang the drop if the gap is visible.
- 7.Turning the heating on to dry the paper faster. Forced drying causes shrinkage, cracking, and lifted seams. Keep the room at normal temperature with good ventilation and let it dry at its own pace.
How long does it take?
Allow a full day for preparation (stripping, filling, sizing, lining if used) and a full day for hanging a standard room. First-timers should not attempt to prep and hang in the same day — fatigue leads to shortcuts in the hanging stage, and that is when mistakes happen.
A professional decorator typically hangs 10–14 drops in a working day, depending on pattern complexity and obstacles. A careful first-timer hanging a plain paper should expect 6–8 drops per day. Patterned papers with long repeats take 30–50% more time because of the alignment work at each seam.
Frequently asked questions
James Whitfield
James is a former interior decorator turned writer, based in Edinburgh. He has hung wallpaper in over 200 homes and writes about craft, materials, and getting things right first time.
Continue reading


Never miss a story